Overview
Centos 6 comes with Kernel 2.x installed by default. Sometimes compiling the newest Kernel is required, especially if you want to enable a feature that is not present in the current installation. In this article i will explain the few steps you need to do in order to get a new Kernel running. For the sake of demonstration i have compiled Kernel 3.2.62 and installed it on a CentOS 6.5 VM running Kernel 2.6.32-431. Before starting the process make sure you have installed the required packages and they are up to date.
Install dependencies
| For the compiling kernel please make sure you vahe the following packages installed: gcc ncurses ncurses-devel. You can use command: rpm -qa | grep |
yum install gcc ncurses ncurses-devel
yum update
Download Kernel 3.2.62
In this step you will download an archive containing the Kernel sources from kernel.org.
[localhost]# cd /tmp
[localhost]# wget https://www.kernel.org/pub/linux/kernel/v3.x/linux-3.2.62.tar.xz
Extract the archive
I’m using tar utility , but you can use anything you are confortable with: mc, graphical tools,…
tar xf linux-3.2.62.tar.xz
cd /tmp/linux-3.2.62
Configuring Kernel 3.2.62 sources
You have a couple of different ways to configure the Kernel
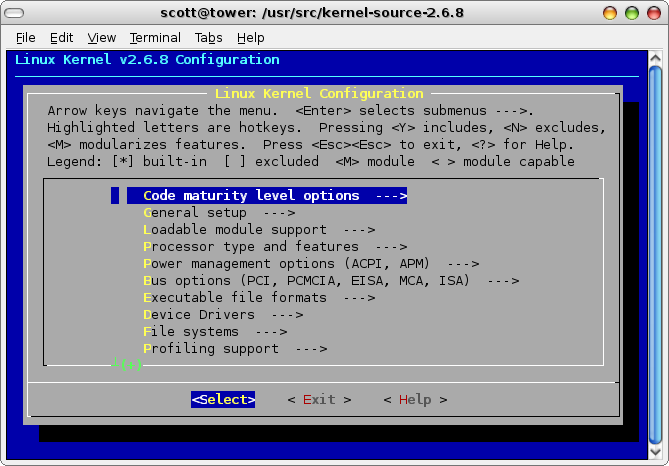
- Custom configuration. You can select what modules to be enable and compiled within the Kernel. This is something an expert would do. For this you need to run the following command:
make menuconfigA screen will pop-up, and you can select/unselect what options you need enabled. You will need to know what you are doing in order for the new Kernel to work with your sysyem

- If you like to configure the Kernel with your old configuration then type the below command.
make oldconfig- You also have the option of compiling the Kernel with the default configuration. Note that most of the time this will not work. It really depends on how compatible is your curent distribution with the new Kernel
make defconfigYour best option here would be the second one: make oldconfig, because if you know what you are doing, and you are using make menuconfig you are probably not following up on this tutorial.
Compiling the Kernel
Next command will start the compilation of Kernel 3.2.62, which may take up to 30 minutes, depending on how performat your system is.
makeYou will see a lot of output on the screen, it should be done when you get your prompt back. Please note that on that output you might see some warnings, the don’t necessarily mean that your new Kernel will not work.
Installing the Kernel
If all the previous steps ran successfully, you are now ready to start the installation proccess. The below command will create a couple of files under /boot folder and make a new Kernel entry in your grub.conf file. As the command says, you will install both the Kernel modules and the Kernel itself.
make modules_install installAfter this is done you have a new Kernel installed. It’s time for you to reboot the system and a new entry should appear in the grub menu. If the system does not boot and you get a Kernel panic message, then probably the configuration you have selected if not suitable for the system. If this is the case, reboot again and choose the old Kernel from the grub menu to start again.
Check you new Kernel
If all went well you should see your new Kernel installed when running the following command.
uname -a

Linux localhost 3.2.62 #1 SMP Fri Aug 15 21:21:30 UTC 2014 x86_64 x86_64 x86_64 GNU/Linux